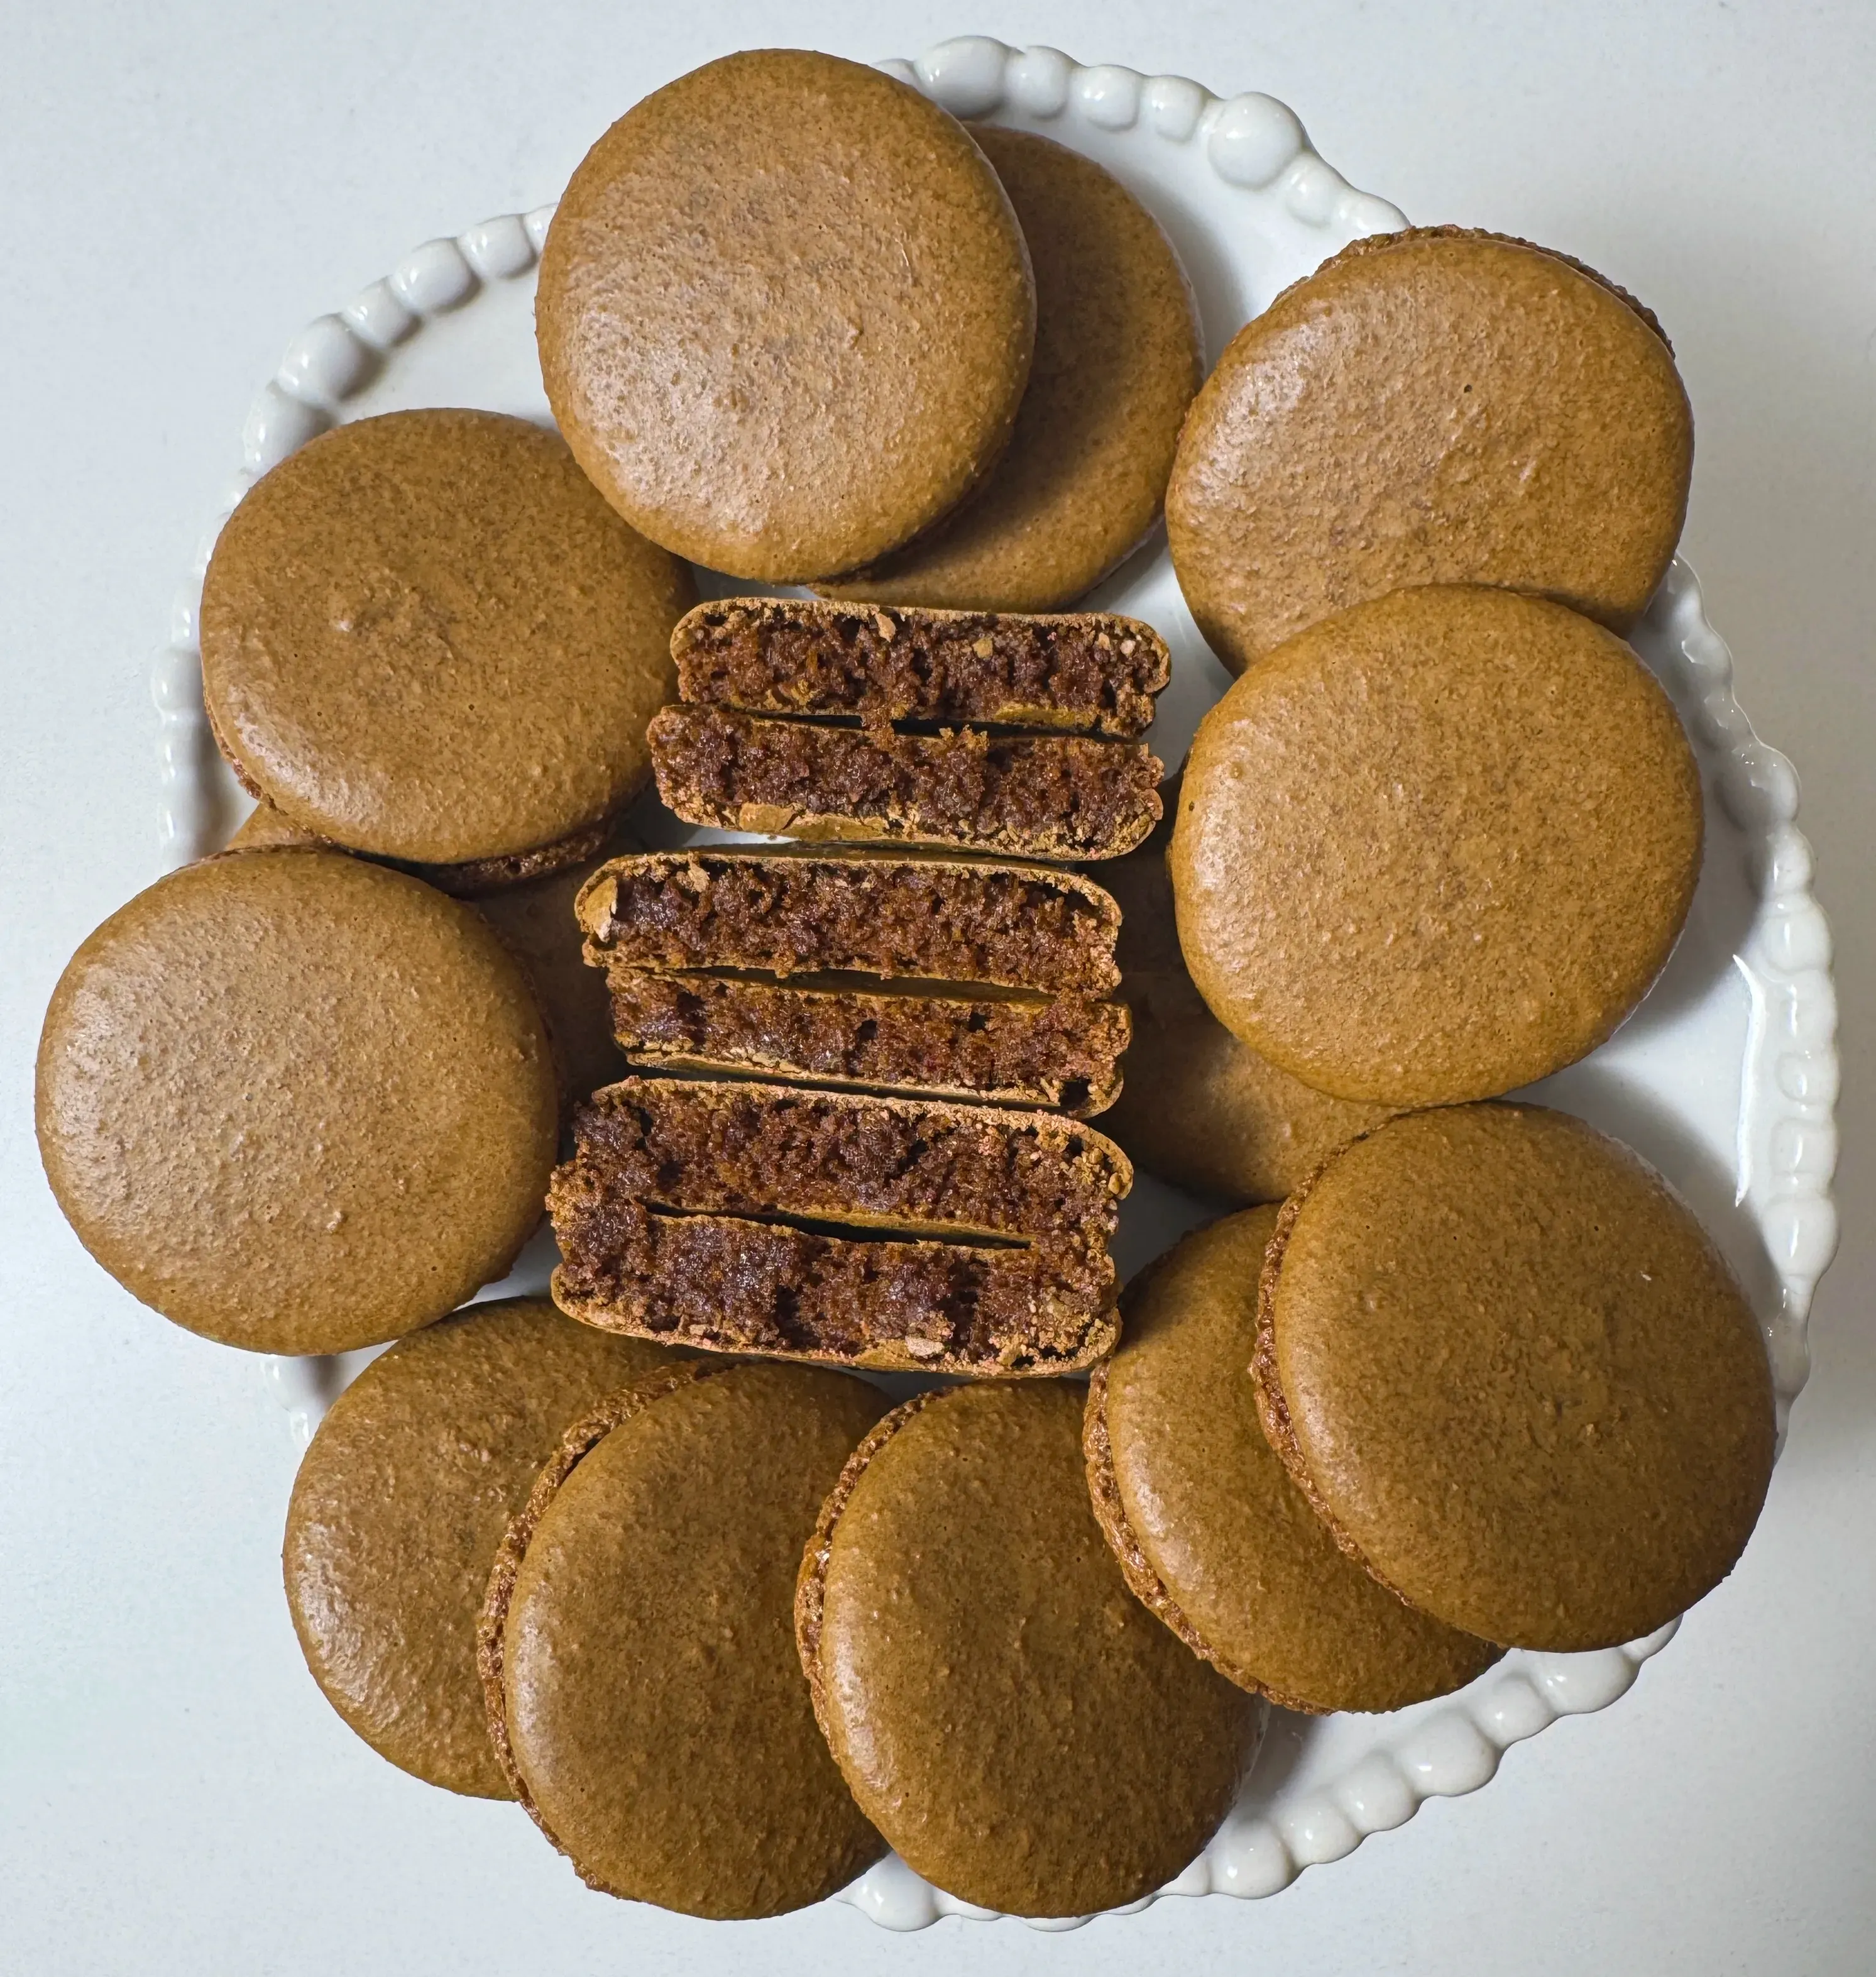

Never-Hollow Macaron Shells Using A Thermomix
Hollow macaron shells can be a thing of the past with this effortless Swiss meringue recipe that uses a Thermomix and countertop oven for simplicity and consistency.
Hollow macaron shells can be a thing of the past with this effortless Swiss meringue recipe that uses a Thermomix and countertop oven for simplicity and consistency.
The Perfect-Shell Obsession
Spend any amount of time in macaron Facebook groups and you’ll see an obsession with tall feet and perfectly full shells. Personally, I find it hilarious! I’ve traveled to Paris—the epicenter of macaron royalty—and learned that while home bakers idolize and chase perfection in appearance, the legendary bakeries do not always achieve it themselves. I bought hollow macarons with crushed shells at premium prices, and they were still proudly tucked into beautiful boxes and sold by some of the most celebrated names in pastry.
The rise of AI-generated food photography hasn’t helped. We’re surrounded by images of flawlessly smooth, perfectly symmetrical macarons that may never have existed in the first place. Those images give people unrealistic expectations for a confection that is notoriously susceptible to “failure” due to humidity, temperature, equipment, and technique.
I have been baking macarons for more than a decade, and I quickly learned that achieving full shells relies less on making the absolute perfect batter and more on understanding your oven.
For me, the key was finding the balance between enough heat to quickly cook and set the interior structure of the macaron, but not so much heat that the exterior browns or dehydrates into a fragile eggshell. Once I stopped treating every imperfect shell as a batter problem and started paying closer attention to heat, everything changed for me.
My Oven Technique
I finally struck the right balance by finding a way to stabilize the heat using a countertop oven and two sheet pans. Letting go of using my stove was the turning point in my journey.
I place one sheet pan on the top rack of the countertop oven, where it shields the macarons from the upper heating element and helps prevent the top of the macaron shells from browning. I place a second sheet pan upside down on the center rack and allow it to preheat with the oven. The piped macarons are then slid directly onto that hot, center rack sheet pan, giving them immediate and even heat from below. The sheet pans ensure an evenly-distributed temperature cooking the shells from the top and the bottom.
Thick, high-quality pans are essential to this technique. I exclusively use USA Pan quarter sheet pans and jelly roll baking sheets because they retain and distribute heat evenly without creating hot spots.
That immediate heat conduction matters. When your pans are pre-heated, the macarons begin rising less than 1 minute after entering the oven. The steam that causes the macaron shells to rise has a limited duration, and the macaron interior structure needs to set while that lift is happening. If the centers remain too wet after the steam rise period ends, the shells may look beautiful in the oven, but they will likely collapse inside as they cool. The excess moisture that didn’t escape will make the under-cooked interior structure dense and prone to fall.
I’ve had the most success using a thin piping surface, such as parchment paper or a reusable teflon sheet. I pipe and dry the macarons, then slide them directly onto the preheated pan like a pizza. This technique has given me consistently full macaron shells—even when the humidity isn’t ideal, the batter is slightly over-folded or under-folded, or I’ve made another small misstep during the process.
Macarons may be finicky, but they are not quite as unforgiving as the internet sometimes makes them seem.
Why I Use the Thermomix
A Thermomix is obviously not required to make macarons. I made them successfully for years without one. However, of all the methods I’ve used to prepare Swiss meringue, the Thermomix is the easiest, fastest, and most consistent.
Swiss meringue traditionally requires heating egg whites and sugar while stirring, monitoring the temperature, and deciding when the sugar has completely dissolved. The Thermomix handles the heating, stirring, timing, and temperature control all in one bowl. It removes much of the guesswork and produces repeatable, almost factory-like results without requiring me to rely entirely on intuition to determine doneness.
Once the egg whites and sugar are heated, the Thermomix whips the mixture into a glossy, stable meringue. I don’t have to worry about over-whipping or under-whipping them. From there, the dry ingredients are incorporated and macaronage is performed to get you 75% of the way to the final consistency. Not achieving final macaronage is by design. It leaves you just enough hand-folding to adjust the batter coloring without making the mixture too loose and runny.
The Thermomix does not make macarons completely foolproof—nothing does—but it makes the meringue stage much more predictable. When you’re working with a recipe that already has enough variables, eliminating even one of them is helpful.
The Tools I Recommend
I see silicone macaron mats used frequently on social media, but I’m not their biggest fan. In my experience, silicone does not conduct heat as immediately as parchment paper. So while the pre-templated rounds and reusable nature are nice, they don’t serve my goal unfortunately.
When I pipe onto parchment and place it on the preheated sheet pan, the macarons begin rising within about 45 seconds. That quick response helps the interior begin setting while the macarons are actively lifting, resulting in shells that are fluffy, full, and moist inside.
Silicone mats can still work, particularly if you already know how your oven behaves. I simply get better and more consistent results with parchment paper or thin reusable teflon sheets.
There are also many piping tips you can use, and there isn’t one that is “the right one.” I tend to prefer smaller round tips, such as the Ateco #803 and Wilton #12, because the batter flows more slowly and gives me greater control over the size and shape of each macaron.
I’ve provided a complete equipment list based on the tools I personally use, but please don’t feel as though you need to buy everything before you begin. You can make what you already have work. The important part is learning how your particular tools—and especially your oven—behave.
Shop This Post
21-Inch Disposable Piping Bags
CHECK PRICE ON AMAZON
Wilton #12 Piping Tip
CHECK PRICE ON AMAZON
Wilton #2A Piping Tip
CHECK PRICE ON AMAZON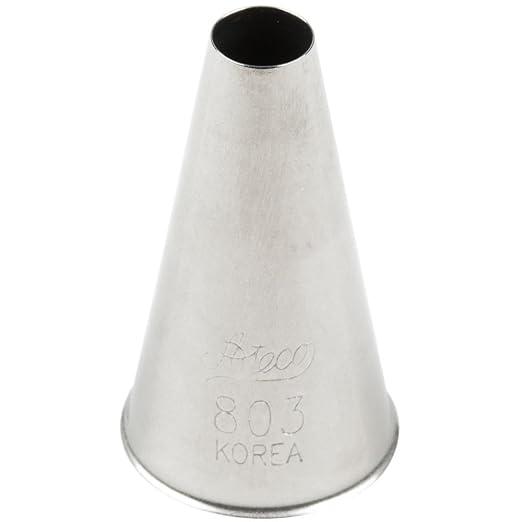
Ateco #803 Piping Tip
CHECK PRICE ON AMAZON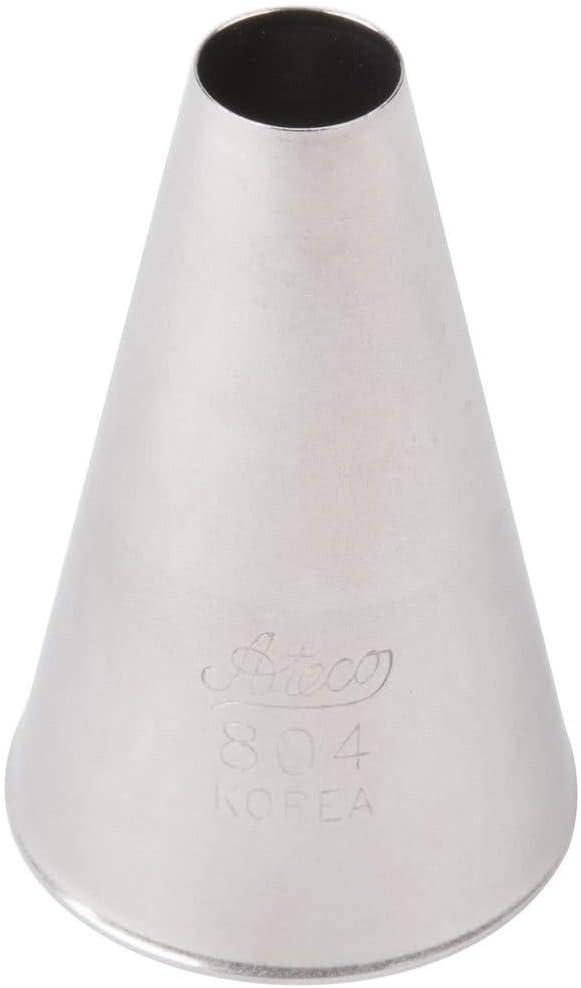
Ateco #804 Piping Tip
CHECK PRICE ON AMAZON
Ateco #806 Piping Tip
CHECK PRICE ON AMAZON
Duralex 9-Piece Glass Bowl Set
CHECK PRICE ON AMAZON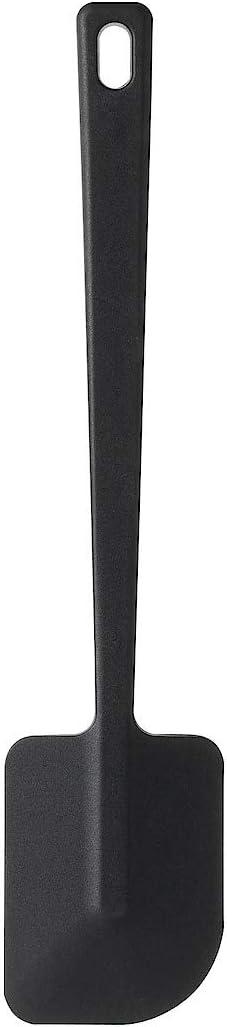
Muji Silicone Spatula
CHECK PRICE ON AMAZON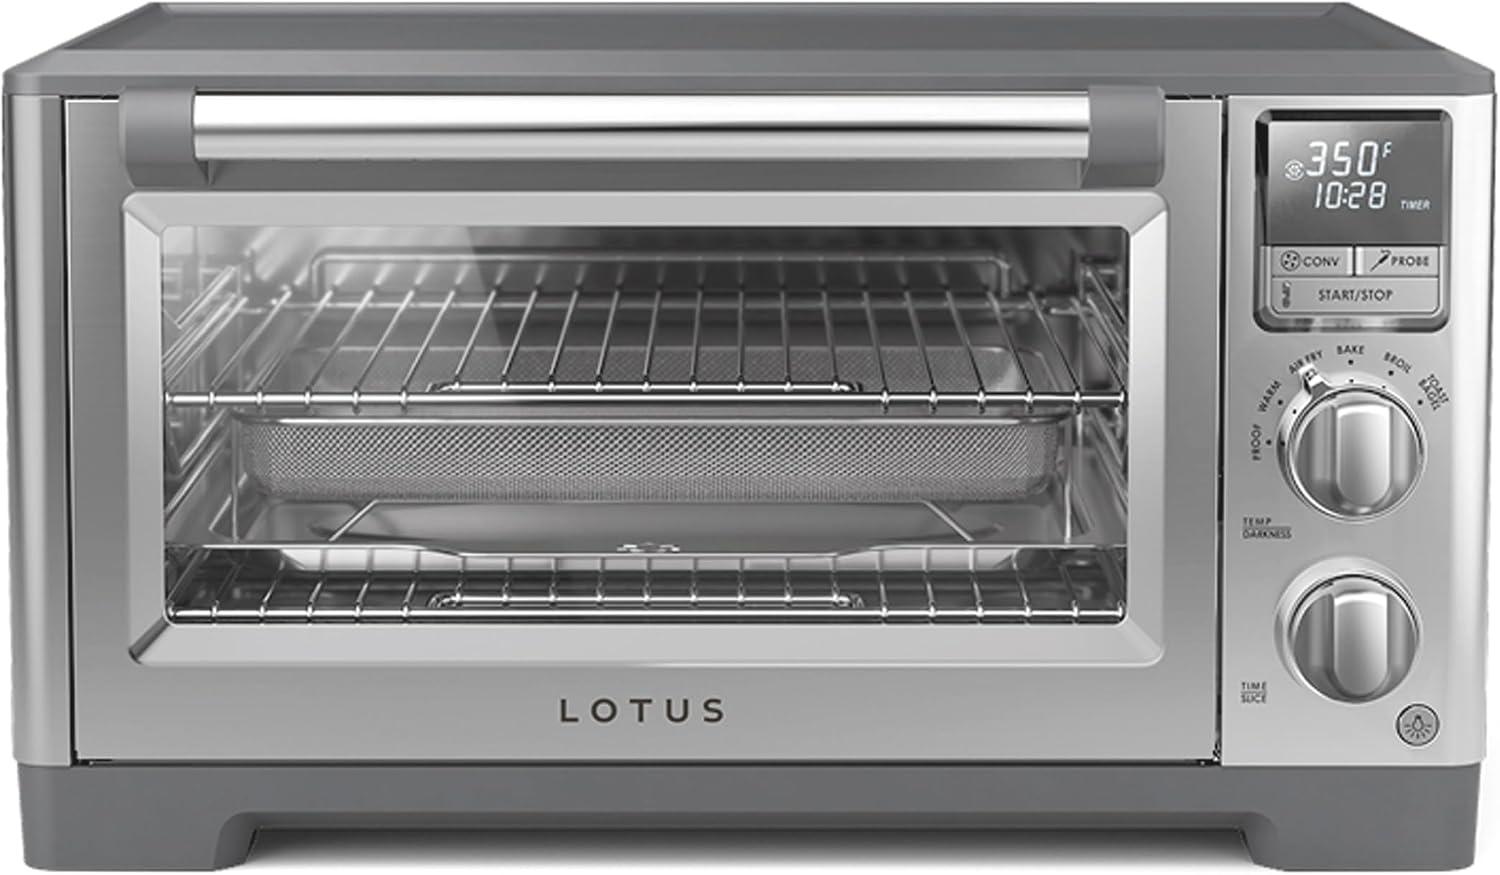
Lotus Countertop Convection Oven
CHECK PRICE ON AMAZON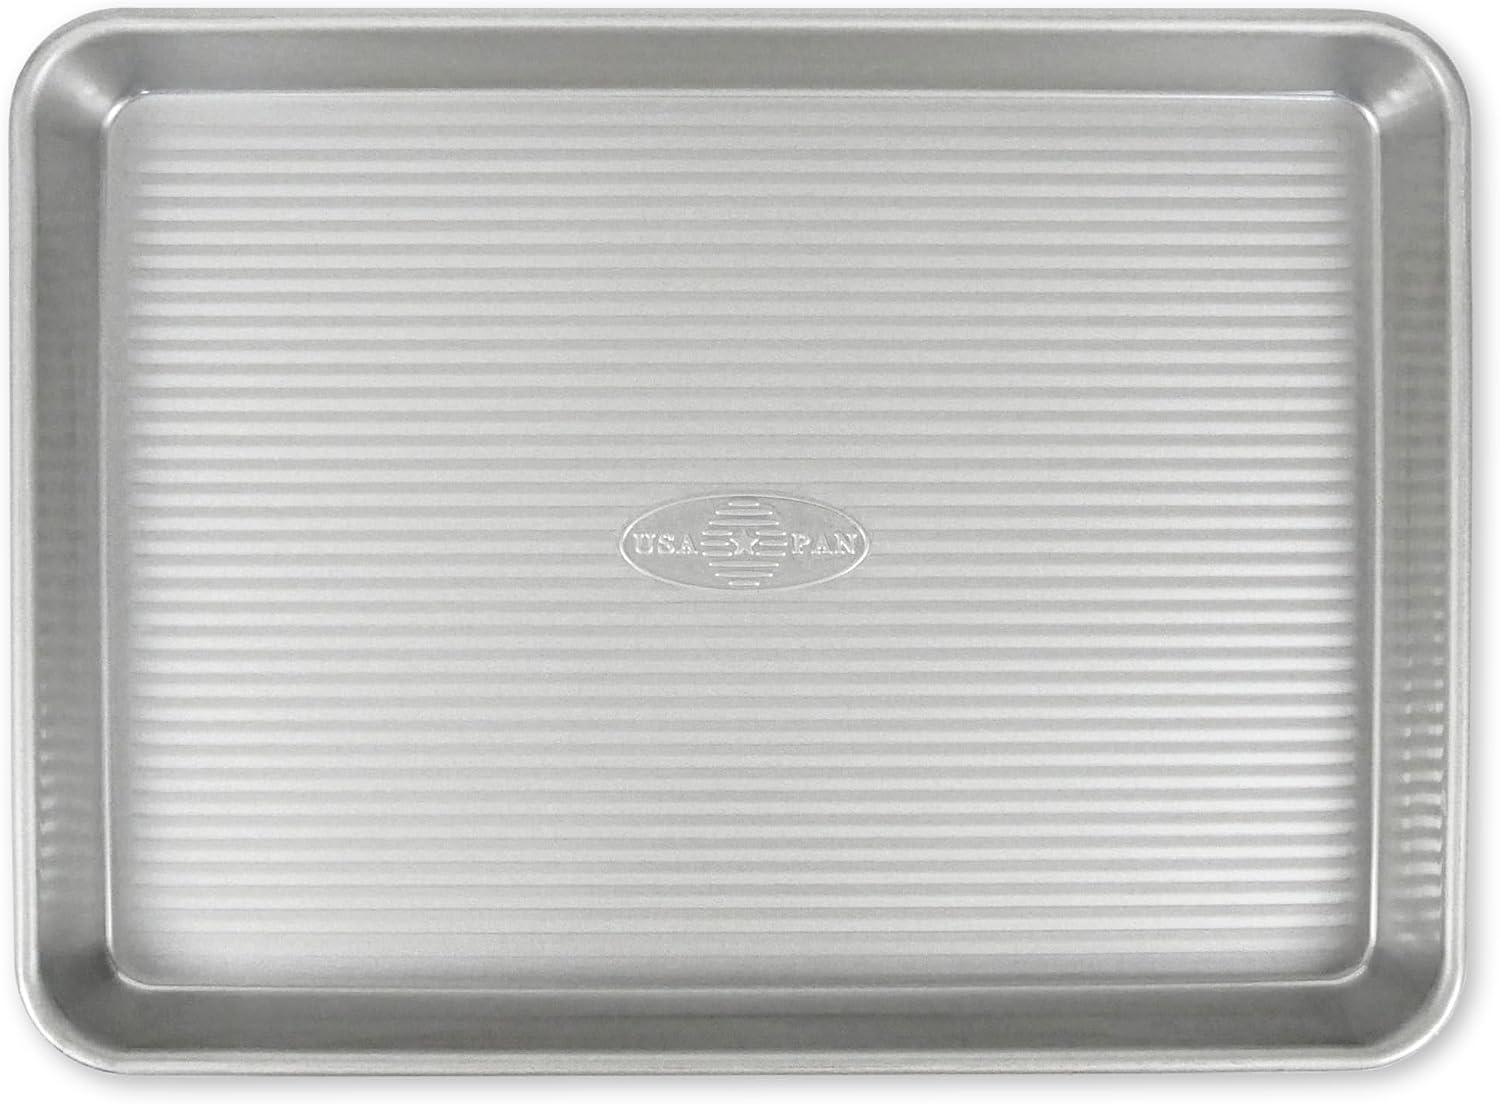
USA Pan Quarter Sheet Pan
CHECK PRICE ON AMAZON
Fat Daddio's Dough Scraper
CHECK PRICE ON AMAZON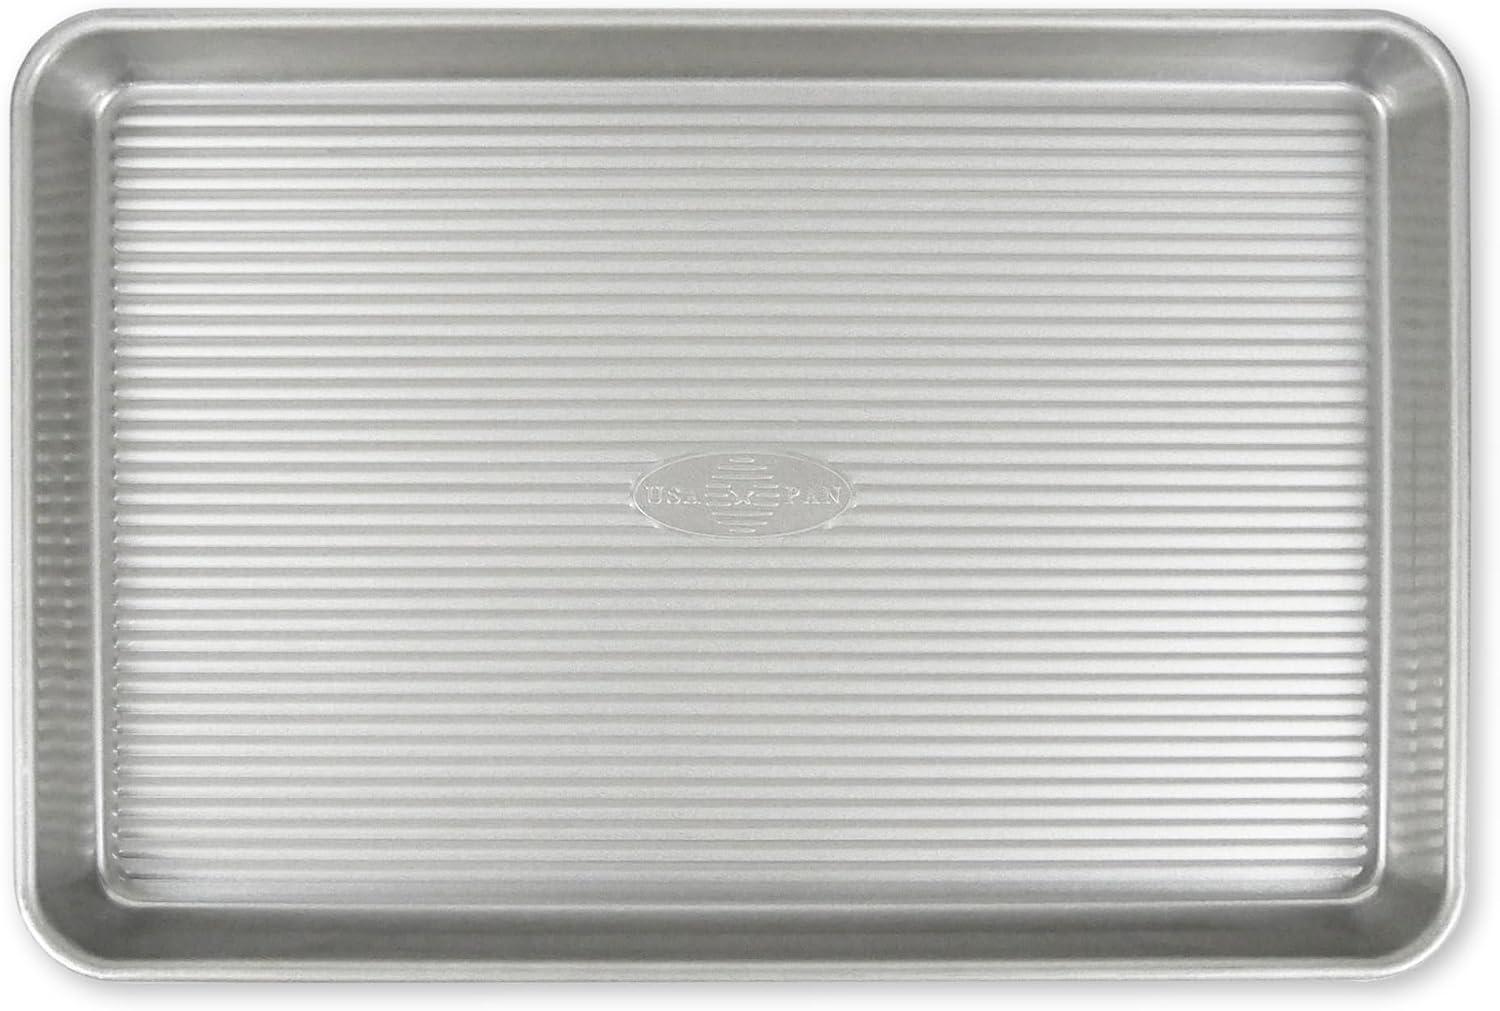
USA Pan Jelly Roll Sheet Pan
CHECK PRICE ON AMAZON
2 Quart Bain Marie
CHECK PRICE ON AMAZON
200Pcs Parchment Paper Sheets
CHECK PRICE ON AMAZON
Teflon Sheets
CHECK PRICE ON AMAZON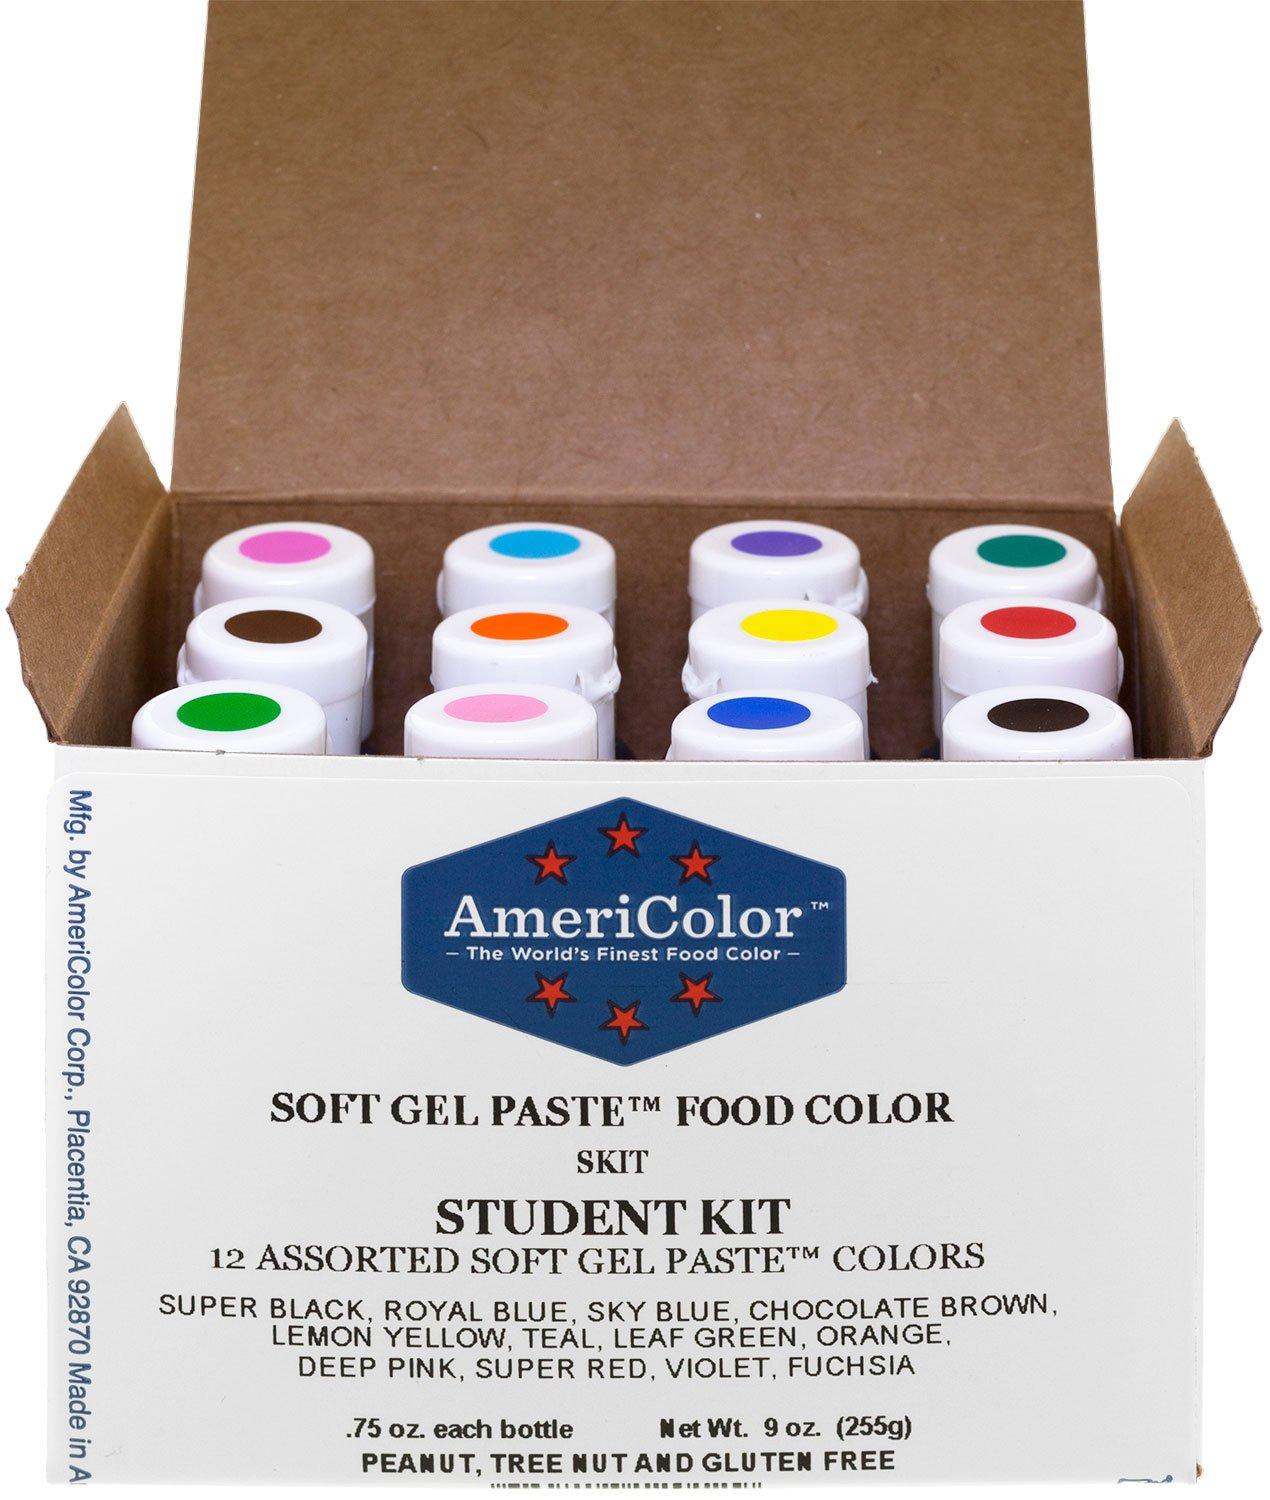
AmeriColor 12 Bottle Gel Paste Set
CHECK PRICE ON AMAZON
Flour Sifter
CHECK PRICE ON AMAZONA Few Things to Remember
Macaron batter should flow smoothly from the spatula without becoming runny. You want it loose enough for the piped shells to settle into smooth rounds, but not so loose that they spread uncontrollably. If a small peak remains after piping, gently tapping the pan should help it disappear.
Try to pipe the shells as evenly as possible so that they bake at the same rate. After piping, tap the tray firmly against the counter to release trapped air bubbles. Any visible bubbles can be popped with a toothpick or scribe before the shells go into the oven.
Most importantly, don’t allow one imperfect batch to convince you that you cannot make macarons. A cracked shell, a lopsided foot, or a small hollow is information—not failure. Make a note of what happened, adjust one variable, and try again.
And remember: even the famous Parisian bakeries sell imperfect macarons.
How to Cook Along
I don’t want to belabor this introduction. I’ve linked the Cookidoo recipe below so you can save it to your Cookidoo account and follow the guided recipe directly on your Thermomix.
For anyone who prefers to operate the Thermomix manually, I’ve also included the complete recipe below in a format you can easily save or pin on Pinterest.
I would love to know how it works out for you if you try it. Tag me on social media at @EatLiveWander.
Happy baking!
Never-Hollow Macaron Shells Using A Thermomix
A recipe for Swiss meringue macaron shells made with a Thermomix that have a crispy outside with a chewy, moist inside. Baking them on a pre-heated sheet tray ensures the shells quickly bake internally and are never hollow.
Ingredients
- 2 egg whites
- granulated white sugar
- 1/4 tsp cream of tartar
- 1/4 tsp Kosher salt
- gel or powder food coloring
- fine almond flour
- confectioner's sugar
Instructions
Pre-heating
Step 1: Pre-heat a countertop oven to 290°F (NO fan convection). Place a rack in the center of the oven. Put an upside down cookie sheet on the rack to preheat.
Macaron Batter
Step 1: Insert the whisk attachment over the Thermomix blades.
Step 2: Tare the Thermomix scale to 0 grams. Add 2 Egg Whites and take note of the weight.
Step 3: Tare the Thermomix scale to 0 grams again. Add an equal amount of Granulated White Sugar as the egg whites into the bowl.
Step 4: Add the 1/4 tsp Cream of Tartar and 1/4 tsp Kosher Salt.
Step 5: Mix for 10 seconds / Speed 3
Step 6: Scrape down the sides of the bowl with a silicone spatula.
Step 7: Mix again for 6 minutes / 140°F / Speed 1.5
Step 8: Add the Powder or Gel Food Coloring.
Step 9: Mix for 7 minutes / Speed 2.5
Step 10: Multiply the weight of the eggs by 1.2 to calculate the Fine Almond Flour and Confectioners Sugar weight. For example, if you used 75g of egg whites, 75g * 1.2 = 90g. So you will add 90g of Almond Flour and 90g of Confectioners Sugar in the next step.
Step 11: LEAVE the lid on the Thermomix and set a small bowl on top. PRESS the scale icon. WEIGH the Fine Almond Flour and Confectioners Sugar into the bowl, hitting TARE between ingredients.
Step 12: REMOVE the lid. Using a sieve, sift the Fine Almond Flour and Confectioners Sugar into the Thermomix.
Step 13: Mix for 10 seconds / Speed 1.5
Step 14: Scrape down the sides & bottom of the bowl, the blades, and the whisk using a silicone spatula.
Step 15: Mix again for 13 seconds / Speed 1
Step 16: Scrape the macaron batter into a small bowl and gently fold it a couple times to make sure everything is incorporated.
Step 17: Test that the batter is ready to pipe. Pick some up on your spatula and let it drip off. It should flow very slowly like lava, and dangle in the shape of a “V’ at the end of the spatula. Try to draw figure 8s without breaking the flow. Fold in 2-3 fold increments if it’s too stiff.
Step 18: Insert a Wilton #12 / Wilton 2A / Ateco 803, 804, or 806 tip into a piping bag. Add the batter.
Step 19: Put parchment paper on a second, cold, upside down sheet pan. Pipe your shells onto the parchment using a paper template beneath.
Step 20: Hold the tray in one hand and tap hard underneath the tray to release air bubbles from the piped macarons. Let them rest for 20-30 minutes for a skin to form. They should be visually matte and dry to the touch when ready.
Step 21: To bake, make sure fan convection is OFF! Slide the piped macaron batter parchment from the cold sheet pan onto the preheated sheet pan in the oven. Bake for 14-15 minutes or until they no longer wiggle when pushed gently from the side.
Step 22: Slide the macarons off the sheet pan onto a cooling rack. Let the macarons cool completely on the parchment for at least one full hour before peeling them off as they are soft and fragile when warm.
